
How to setup an EPKI account
Sep 30, 2025
How to setup an EPKI account
Introduction
This article will walk you through the initial setup of your EPKI account, including profile configuration.
If this is not the solution you are looking for, please search for your solution in the search bar above.
Step-by-step Guidelines
- Log into your GlobalSign Certificate Center (GCC) account.
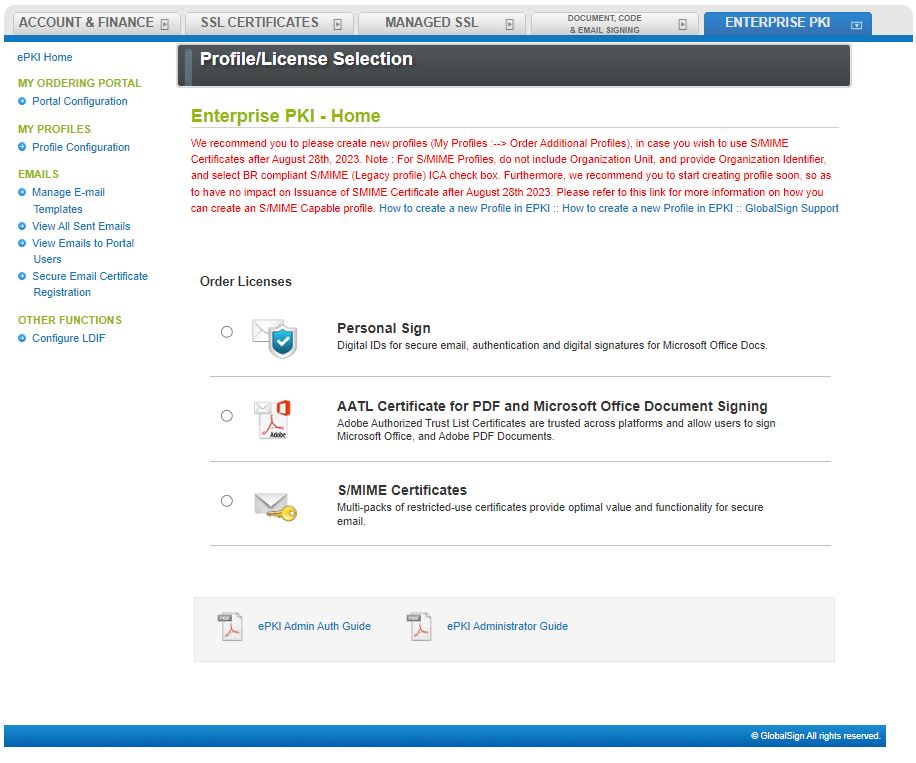
- Go to the Enterprise PKI tab, as shown below.
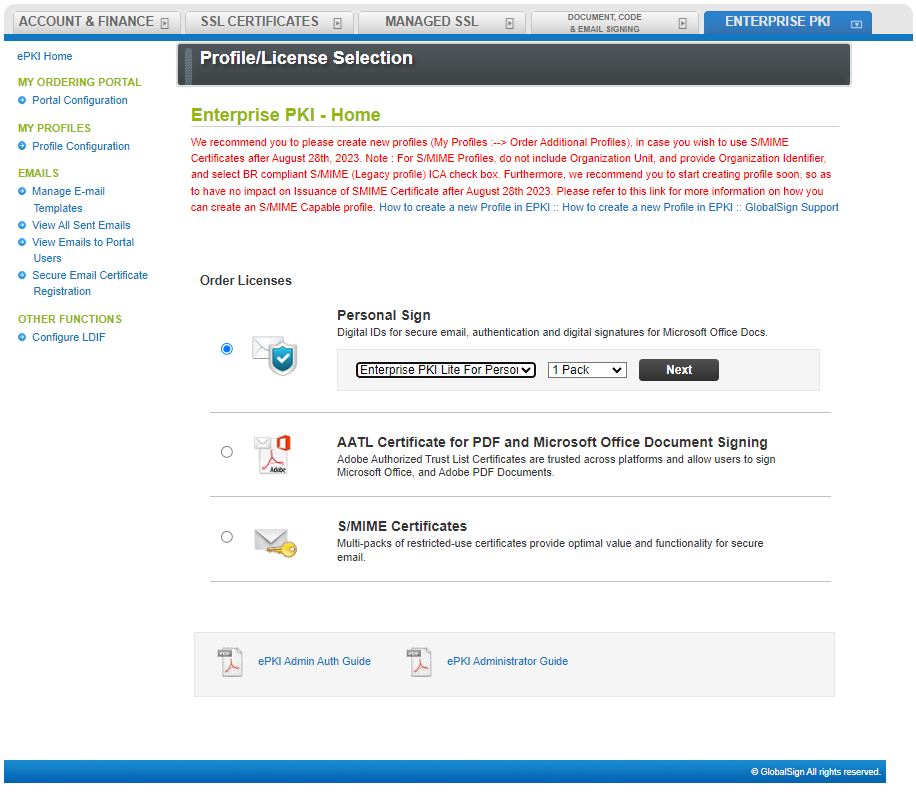
- Choose Personal Sign, and then select Enterprise PKI Lite For Personal Digital ID 1 Pack. Then click the Next button.
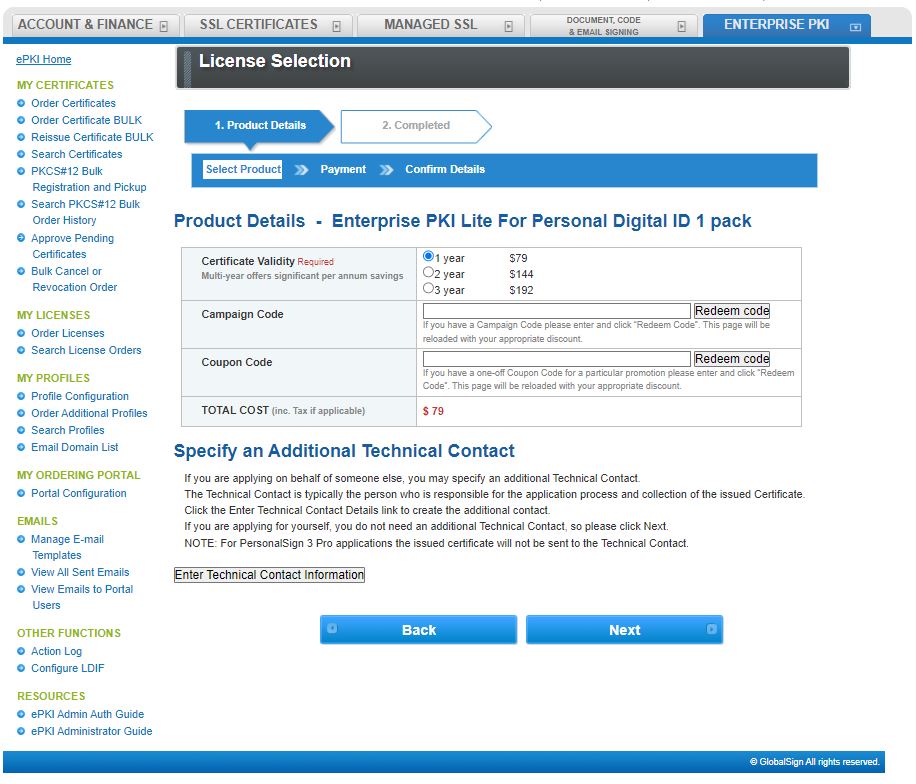
- On the License Selection page, choose the Certificate Validity that you would like among the choices provided. Click Next to continue.
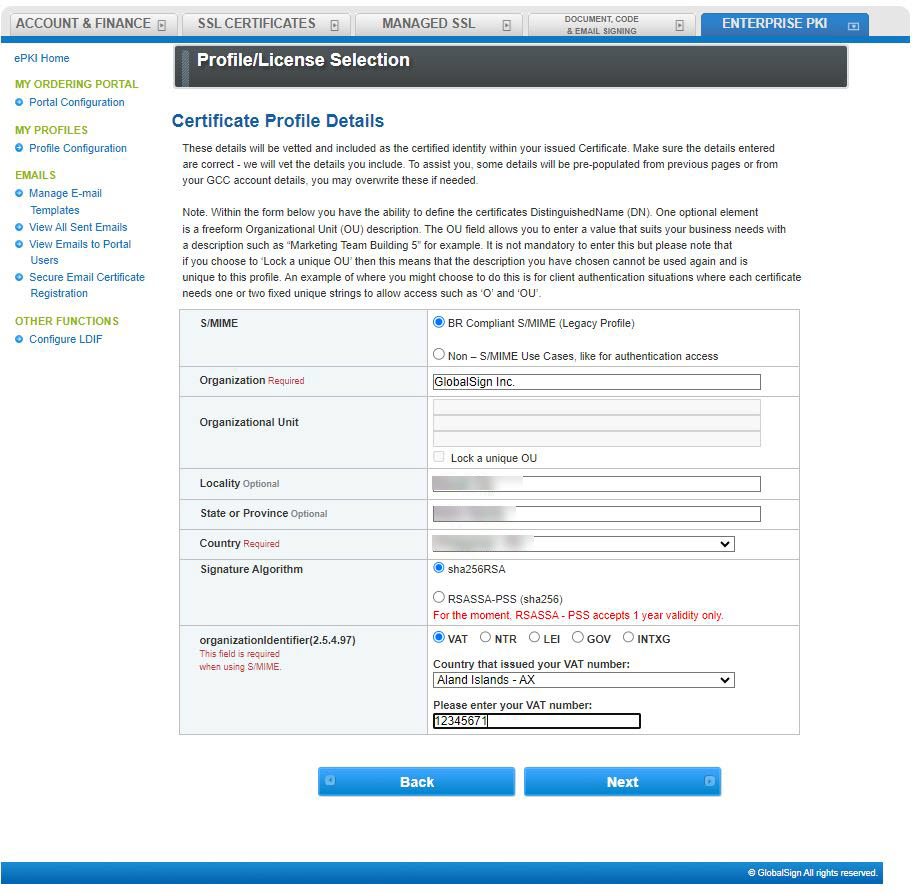
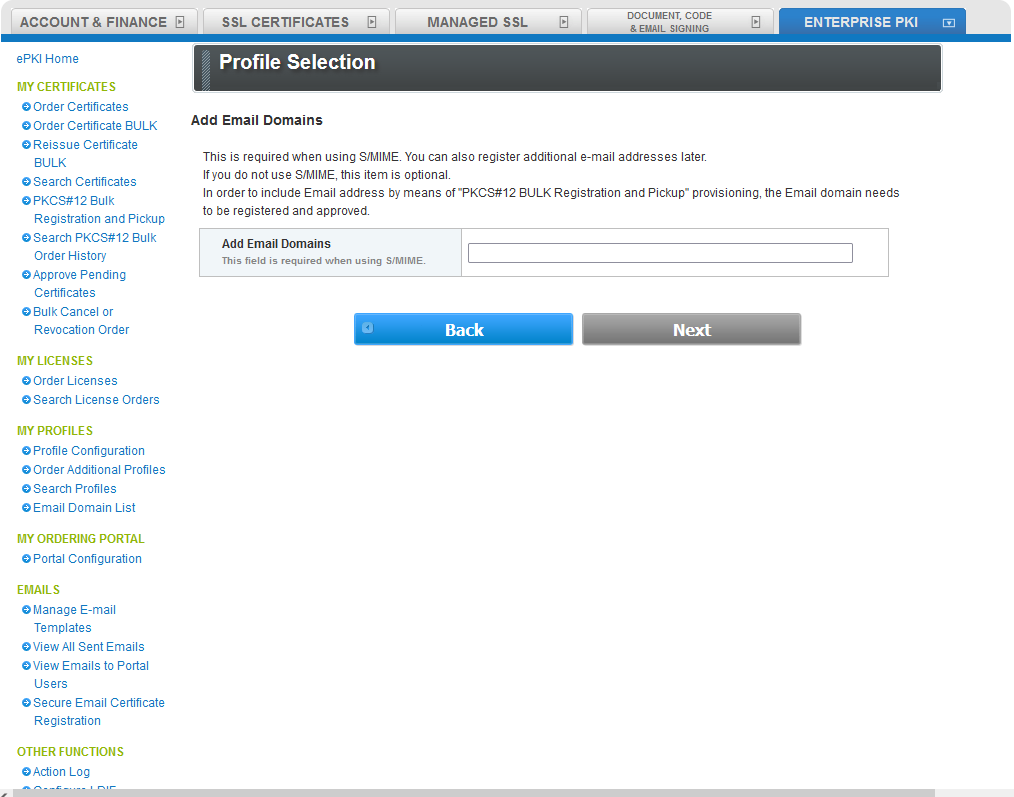
- On the Certificate Profile Details page, select BR Compliant S/MIME (Legacy Profile) in the S/MIME box. Fill out all the required boxes with the correct information, and then click Next to proceed.
- On the Payment Details page, fill out the required payment information before clicking the Next button.
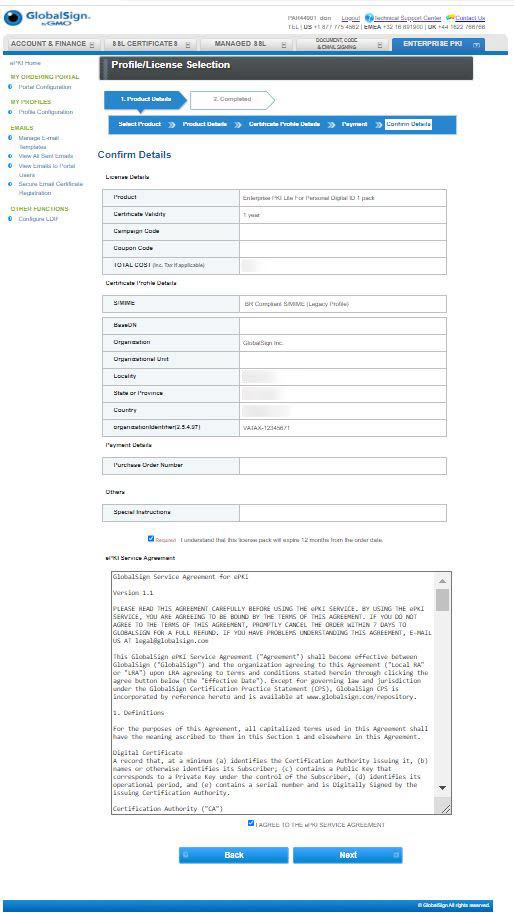
- Confirm your details if all is correct, and then tick the two radio buttons listed below:
- Required: I understand that this license pack will expire 12 months from the order date.
- I agree to the User Service Agreement.
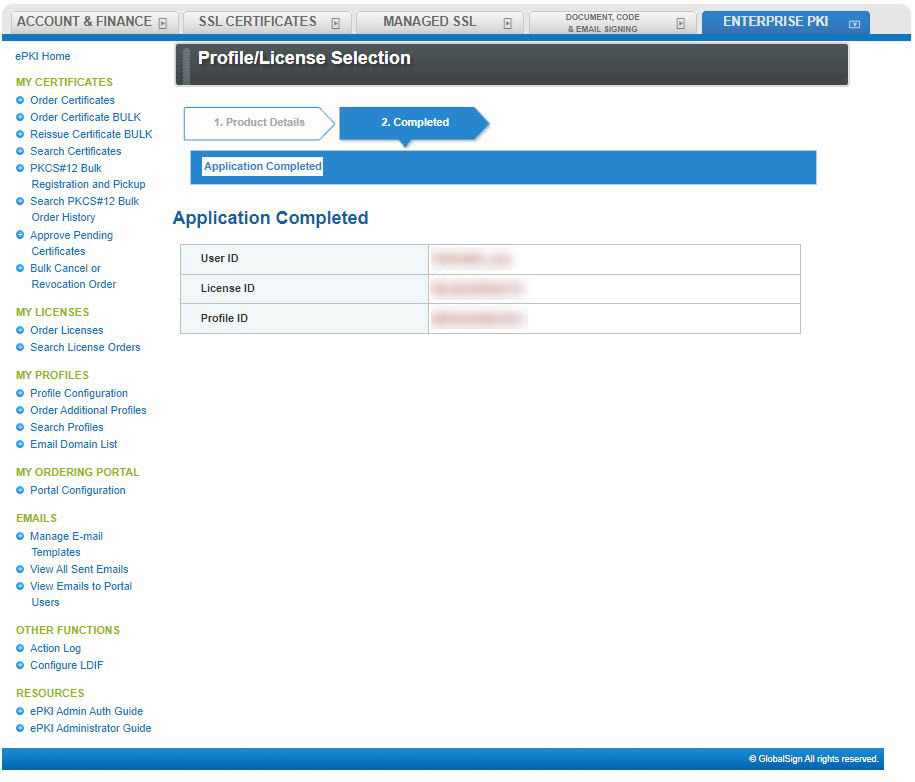
- You have successfully completed your application for an EPKI Account and Profile.
Related Articles
SSL Configuration Test
Check your certificate installation for SSL issues and vulnerabilities.
Contact Support
If you are an Atlas portal user, please submit request to support-atlas@globalsign.com.