
Domain Verification Process in EPKI
May 1, 2026
Domain Verification Process in EPKI
|
OVERVIEW: This page walks you through the process performing domain verification for your profile in EPKI. At the completion of this procedure, you will be able verify your domain for your EPKI profile. To create a new profile, please refer to this page. |
Guidelines
-
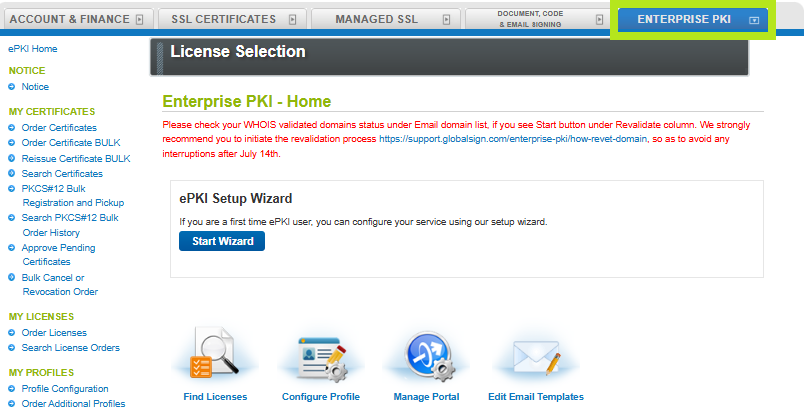
Log in to your GCC account and go to Enterprise PKI tab.
-
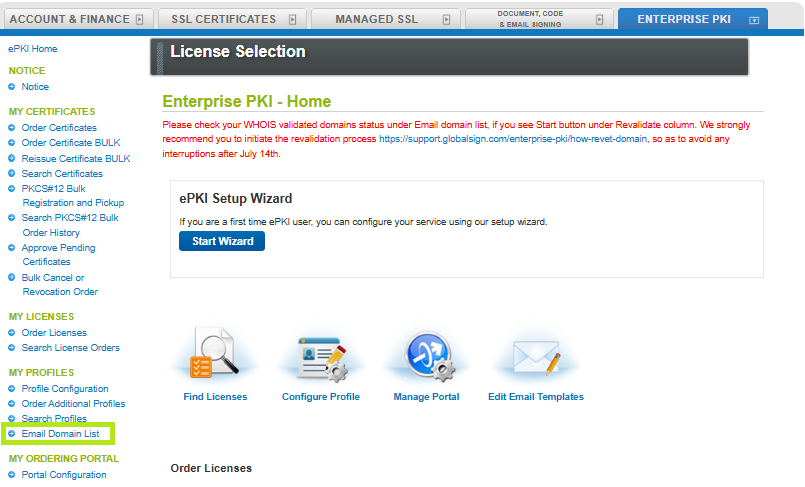
Under My Profiles, click Email Domain List.
If you will verify an existing domain, proceed to Step # 3. If you need to add a new domain, follow these steps before proceeding:
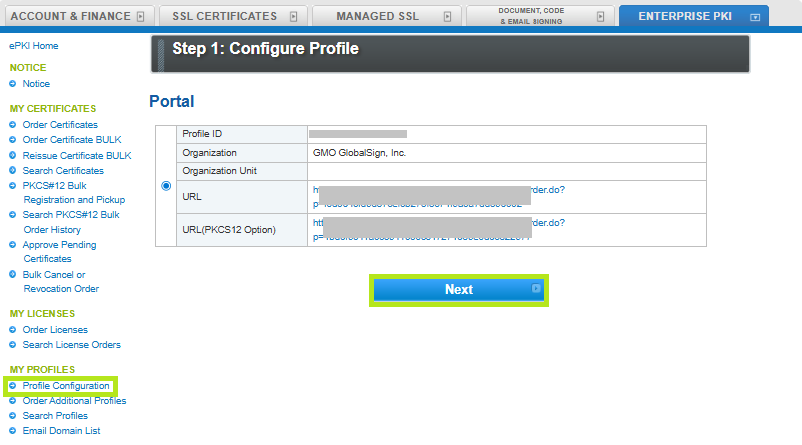
Go to Profile Configuration and select the profile. Then, click Next.
Click Configure next to Email Domains.

Enter the common name or email domain you wish to add, then click Next.
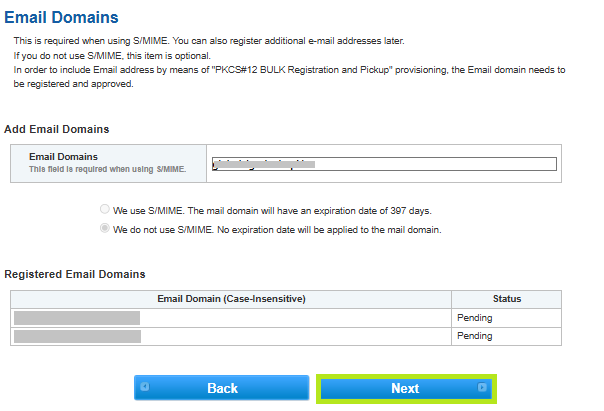
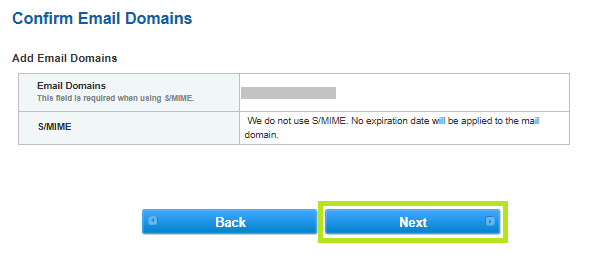
Review the information and click Next.
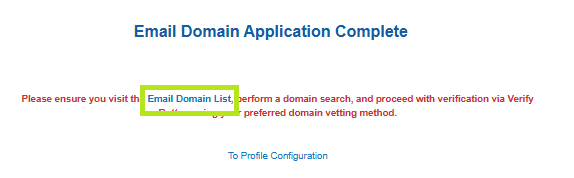
You have successfully added a new email domain. Click on Email Domain List and follow the steps below.
-
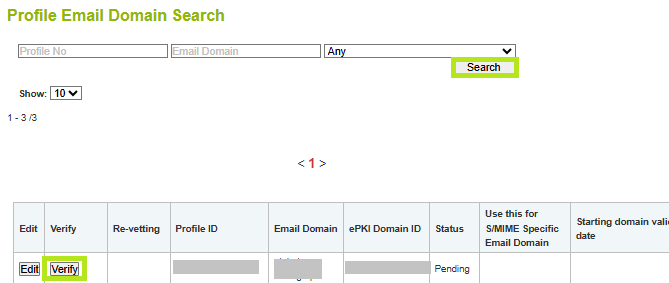
Click Search to view all domain list and select the domain you wish to verify. Then, click Verify. Note: After domain is requested, it usually takes 5 minutes for the verify button to appear this list.
-
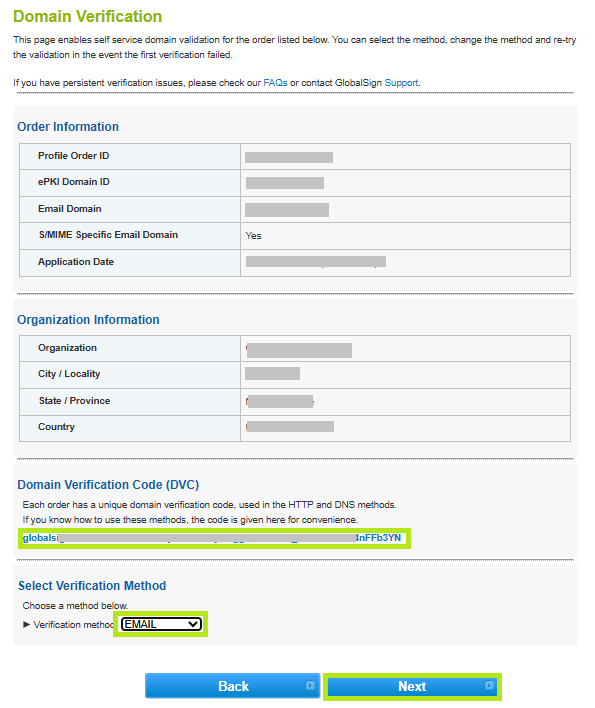
Select a verification method in the Verification Method drop-down below the page, then click Next to continue with the verification of your choice. Note: You can also view the Domain Verification Code in the same screen.
-
Depending on the domain verification you selected from the previous step, follow the guidelines below:
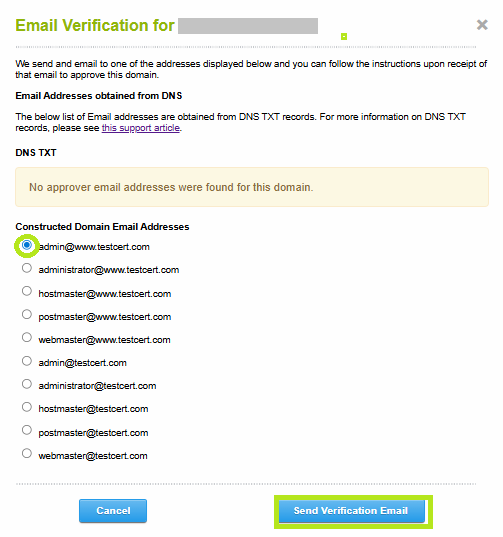
- Select the email address you want to use, then click Send Verification Email.
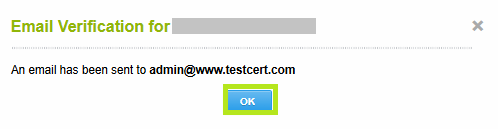
- Click OK to confirm. An acknowledgment email will be sent to your selected email address containing a link to approve the order and instructions for the next step.
WARNING: The link is only valid for 24 hours from the date of request. Once expired, you will have to cancel the current order and start a new order.
- Go to your email and review the information, then click the link to continue.
- Click I Approve to authorize the issuance of the SSL Certificate.
- Once approved, the status of the domain will changed to Approved.
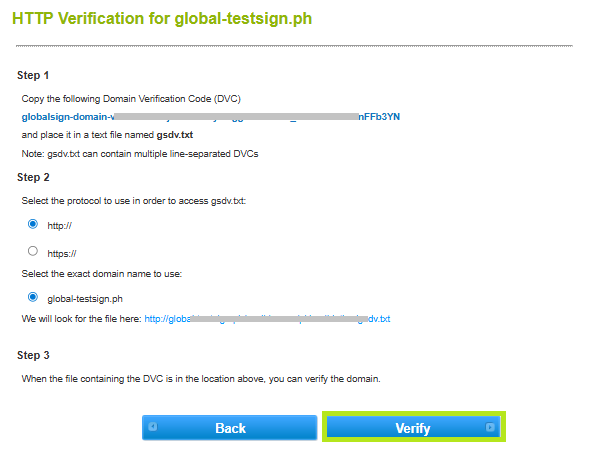
- In the pop-up window, perform the following instructions:
Step 1: Copy the DVC and place it in a text file named gsdv.txt.
Step 2: Select the protocol (http or https) to use in order to access gsdv.txt. Then, select the exact domain name to use.
Step 3: When the file containing the DVC is in the designated location, you can verify the domain. - Once you have placed the verification code in the designated location, click Verify.
WARNING: The code is only valid for 30 days from the date of request. Once expired, you will have to cancel the current order and start a new order.
- GlobalSign will verify that the DVC is at the selected location and approve if successful.
NOTE: If the site cannot be verified an error will appear. If you receive an error, check the insertion of the code and try again. If the error persist, please contact support for assistance
- Once approved, the status of the domain will changed to Approved.
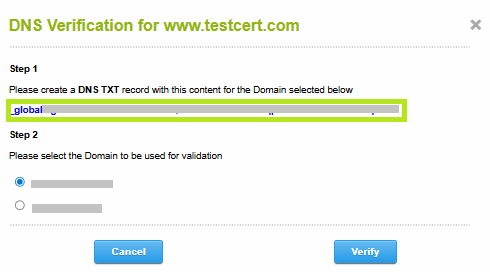
- Select the SAN you want to verify and choose DNS as verification method. Then, click Verify to open a pop-window for the instructions.
- Copy the DVC from the pop-up page, then open a new browser page and go to the DNS provider.
WARNING: The code is only valid for 30 days from the date of request. Once expired, you will have to cancel the current order and start a new order.
- Add a TXT type DNS record and enter your common name, then paste the DVC in the Value field.
NOTE: This is an example of a DNS Manager page. The user interface may be different depending on the Domain Manager.
IMPORTANT: Before entering the copied value, ensure the DNS TXT record is:
• Added exactly as provided (no missing characters or extra spaces)
• Publicly accessible via external DNS lookups - Return to the DVP, then click Verify.
- Once approved, an email will be sent to you with the details of your certificate and a confirmation that the domain has been verified.
SSL Configuration Test
Check your certificate installation for SSL issues and vulnerabilities.