
Manage SSL Integration with Azure Key Vault
Aug 21, 2025
Manage SSL Integration with Azure Key Vault
|
OVERVIEW: This page walks you through the process of integrating Microsoft Azure Key Vault platform with GlobalSign’s Managed SSL (MSSL) service to provision SSL certificate to be accessed and utilized through the Microsoft Azure cloud platform. At the completion of this procedure, your Certificate will be fully integrated with Azure Key Vault and ready for secure automated use. Read more about GlobalSign's MSSL here. |
Prerequisites
-
Valid MSSL Profile and Domains in GCC Account.
To active MSSL, please refer to this page. -
Microsoft Azure account and subscription
-
Whitelisted PAR
To request for PAR Whitelisting, please contact support for assistance.
Guidelines
Step 1: Create an Azure Key Vault
-
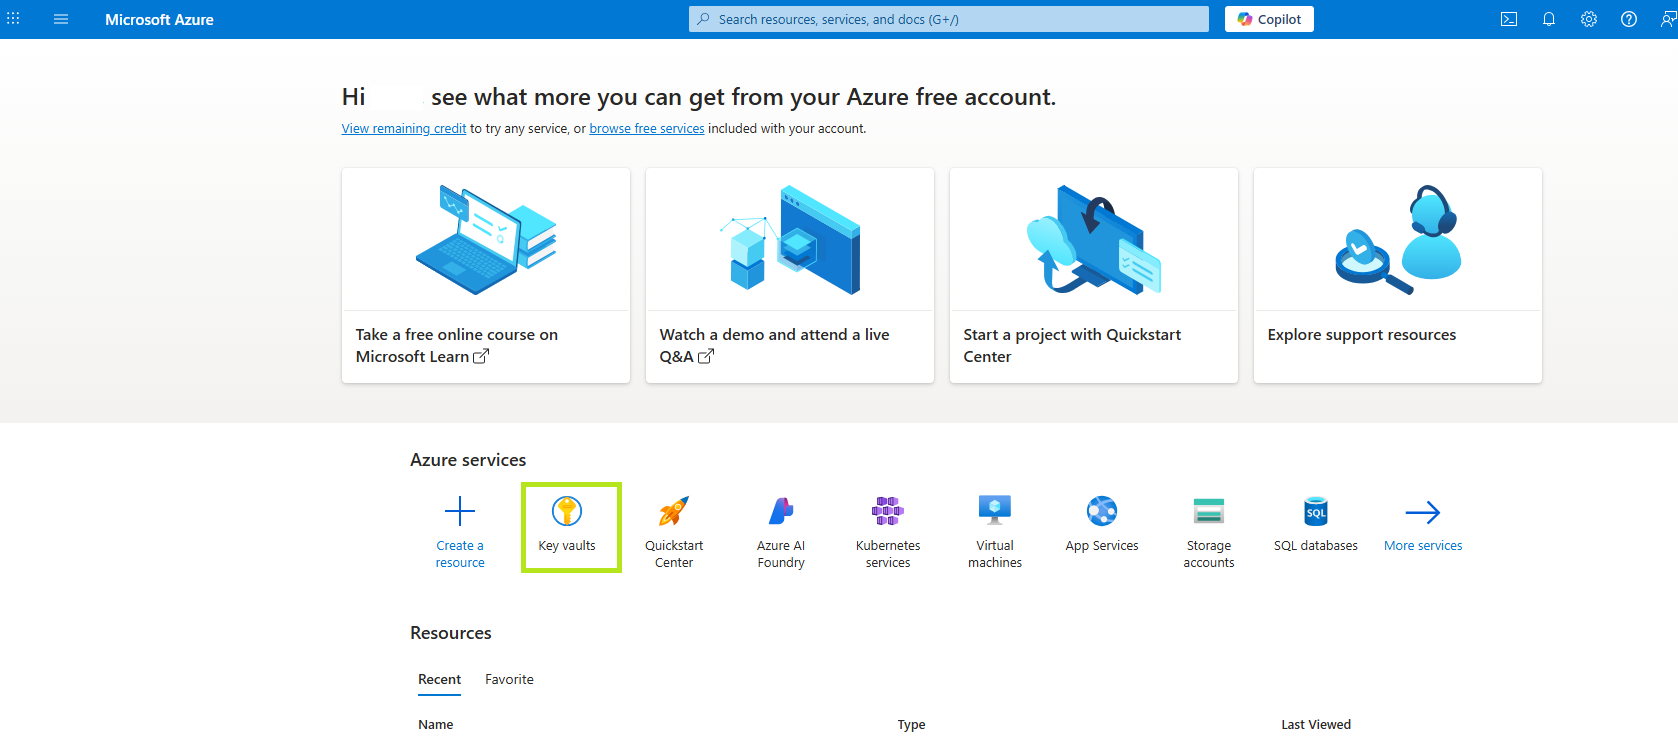
Log in to the Azure portal, then click Key Vaults.
-
In the Key Vaults home page, click Create.

-
In the Basics tab, enter the name of your key vault in the Name field and choose your Subscription preferences, Resource group (new or existing), Region, Pricing tier, Recovery options. Then, click “Next” to continue.
-
Choose the settings in the Access configuration, Networking, and Tags tabs according to your use case.
-
Once completed, go to the Review + Create tab to review the details you have entered. Then, click Create.
-
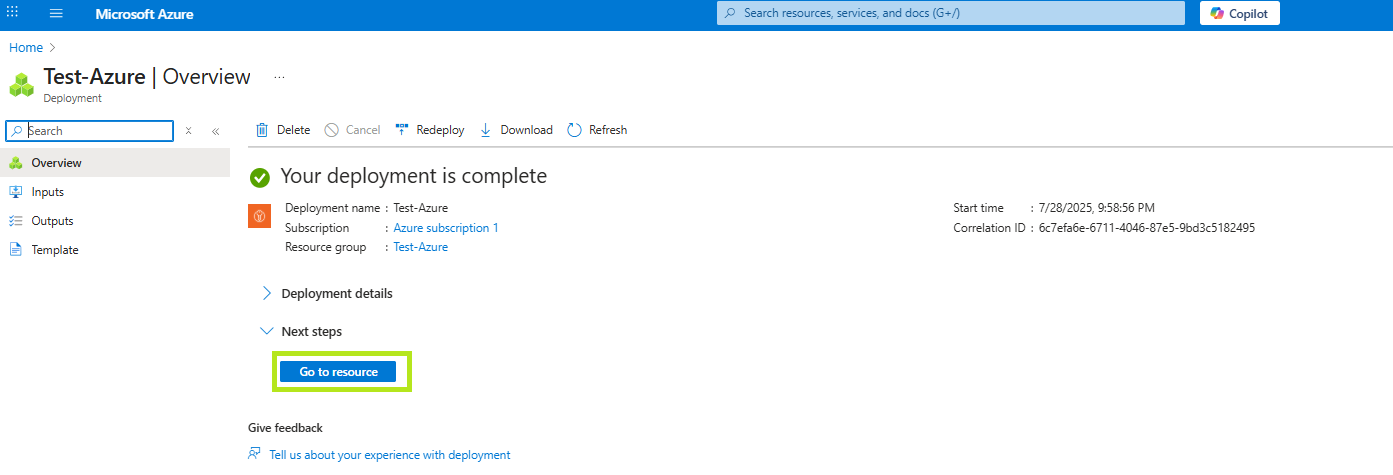
Once your vault is created, you will be taken to the Overview home page. To proceed, click Go to resource.
Step 2: Add GlobalSign as a Certificate Authority
-
From your Key Vault, click the Objects dropdown and select Certificates. Then, click Certificate Authorities.

-
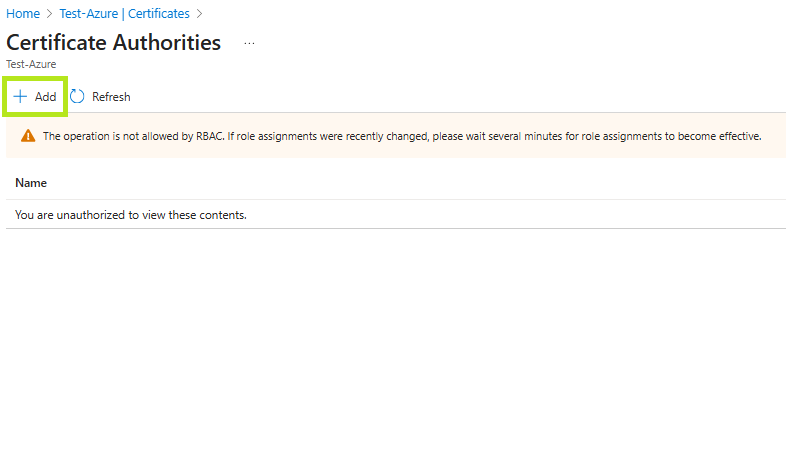
In the Certificate Authorities page, click Add. It will open the Create a certificate authority menu.
-
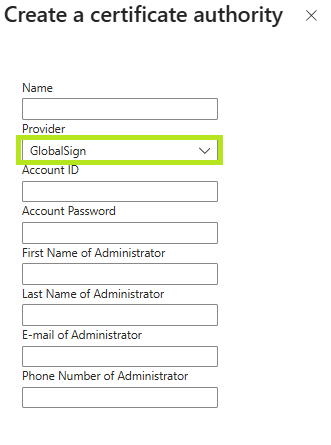
Enter a Name then on the Provider drop-down, select GlobalSign.
-
Fill out the remaining fields with your GlobalSign GCC account information. Then, click Create.
IMPORTANT: The Account ID should be the GCC Account User ID (e.g. PAR12345_TestS) . This field is also case sensitive.
- Once all information are saved, you will receive a notification confirming that the certificate authority has been successfully created.
Step 3: Add a New Certificate to the Vault
-
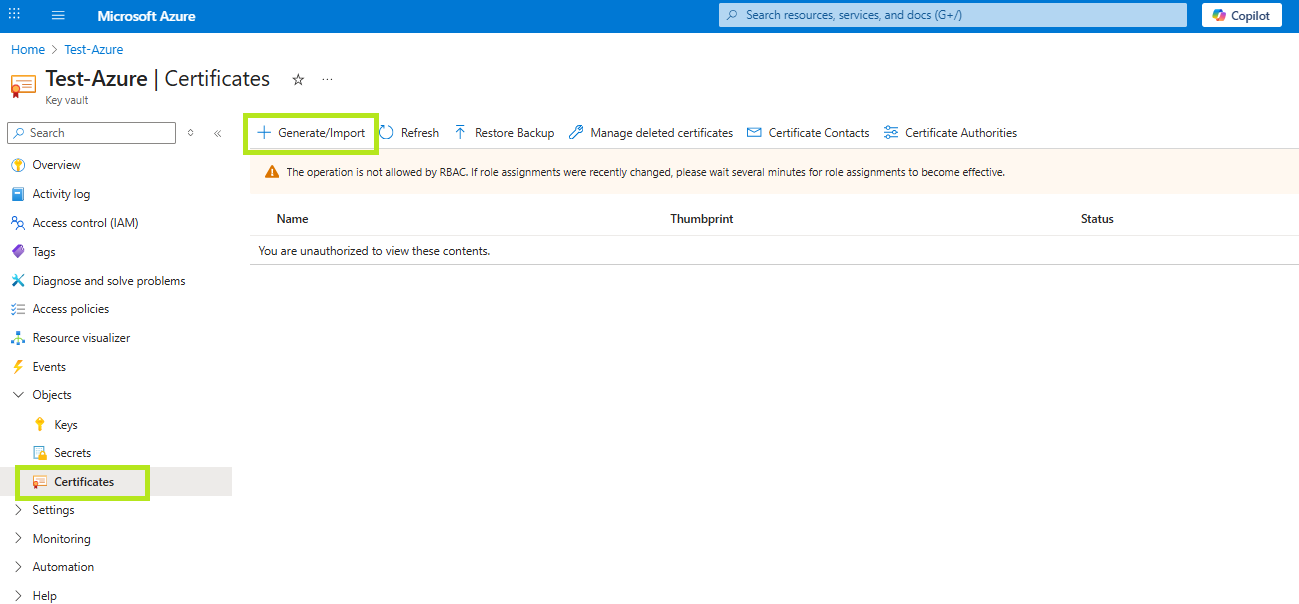
Go to your Key Vault and select Certificates, then click Generate/Import. It will take you to the Create a Certificate page.
-
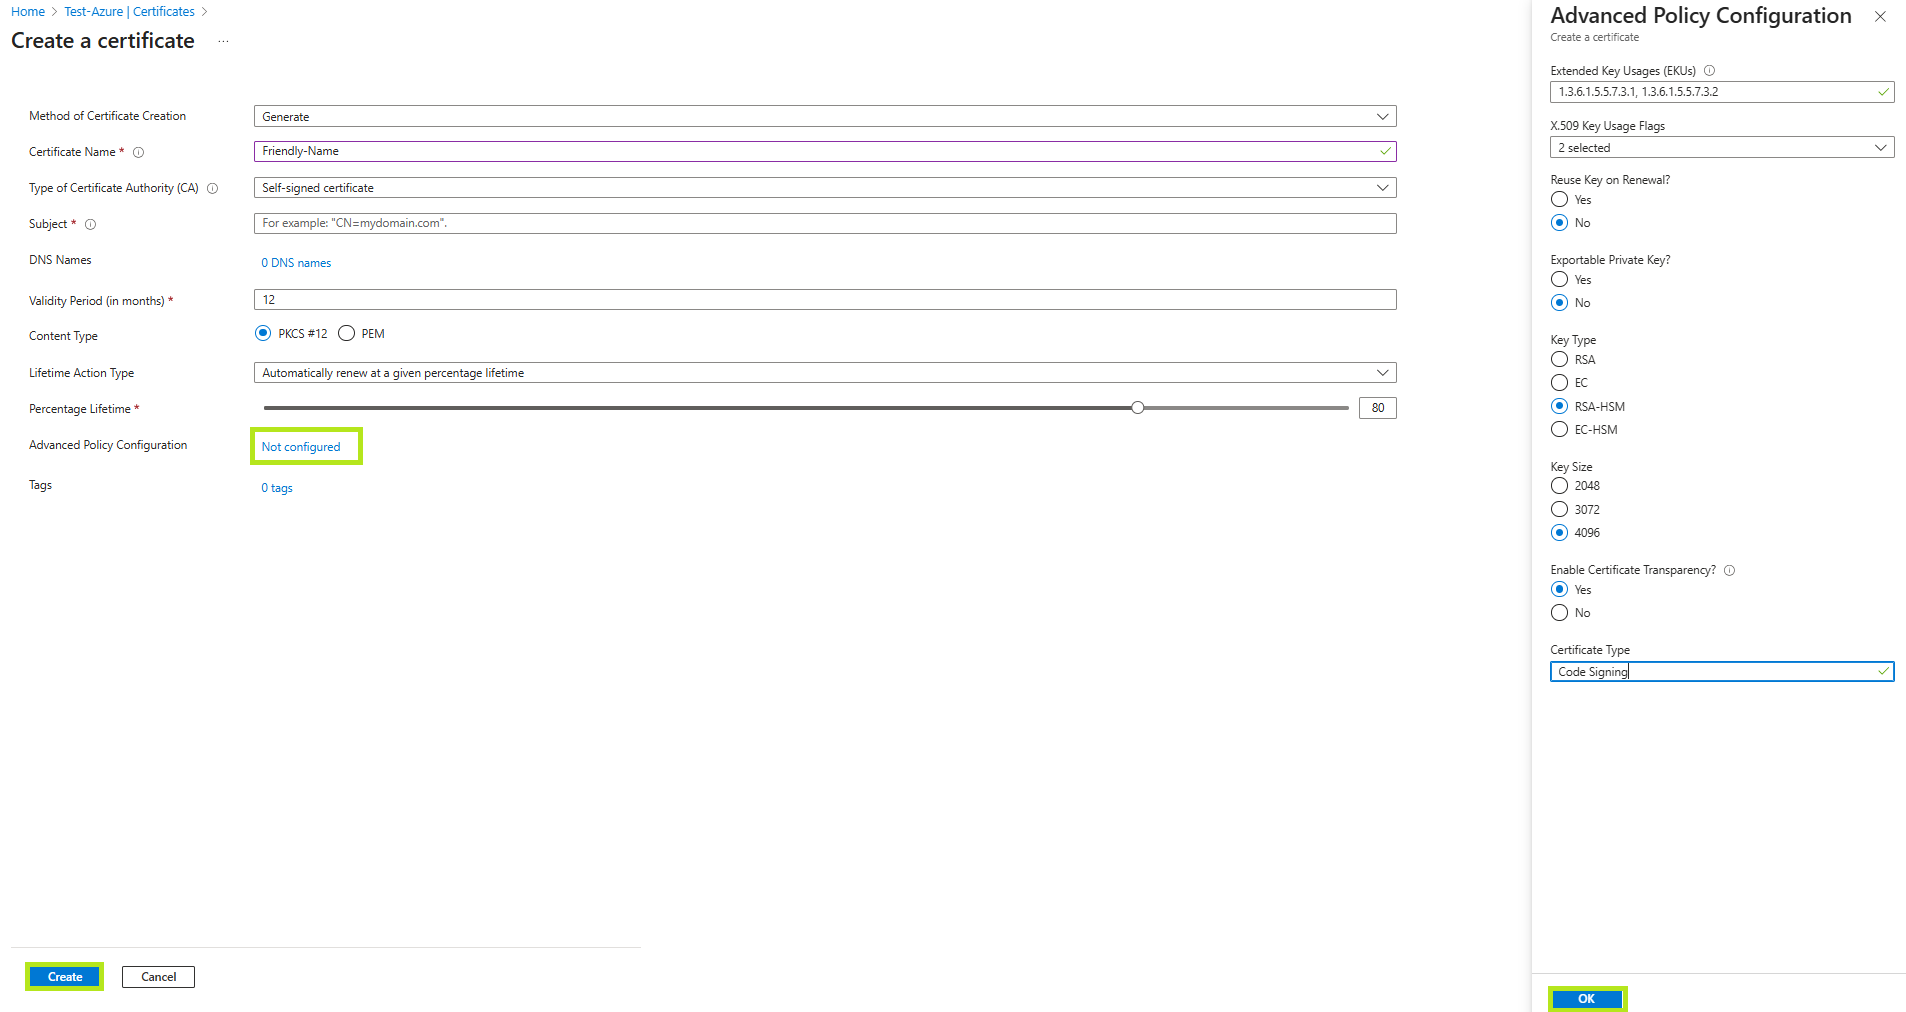
Choose Generate as the Method of Certificate Creation, then enter an easy-to-memorize name in the Certificate Name field.
-
In the Type of Certificate Authority (CA) drop down menu, select Certificate issued by an non-integrated CA.
-
Set the Subject field with the common name of the certificate you are requesting (Format: CN=Common Name).
-
Fill out the rest of the fields:
• DNS Names – where you can add additional Subject Alternative Names (SANs)
• Validity Period – select how long the certificate is valid for in month designation.
• Content Type:
• PKCS#12 – Private public key pair
• PEM – Public key
• Lifetime Action Type – set certificate renewals or renewal reminders -
Advanced Policy Configuration by default is set to Not configured. Click Not Configured if you wish to add additional EKUs and set advanced key features. It will open the Advanced Policy Configuration menu.
• Reuse Key on Renewal? No
• Exportable Private Key? No
• Key Type: RSA-HSM
• Key Size: 4096
• Enable Certificate Transparency: Yes
Then, click OK.
-
Click Create, then a pop-up message in the right corner will confirm that the certificate is being created.
Note: You can also click on the blue information bar to monitor the generation process. -
Once the Status shows Completed, click on Certificate Operation and later Download CSR file to get a copy of your CSR.
-
Save the .csr file to your local machine.
Related Articles
SSL Configuration Test
Check your certificate installation for SSL issues and vulnerabilities.