
Install Certificate in SafeNet eToken
Feb 16, 2026
Install Certificate in SafeNet eToken
|
OVERVIEW: This page walks you through the process of installing your GlobalSign Client Certificate in the SafeNet eToken. At the completion of this procedure, you will be have your Certificate stored in the eToken. For more Safenet eToken management guides, please refer to this page. |
Prerequisites
-
Approved and vetted GlobalSign Code Signing Certificate.
-
GlobalSign-provided SafeNet eToken. Depending on your need, do the following actions:
For New Orders
• Download and install SafeNet Authentication Client drivers.
• Initialize SafeNet eToken. This is a requirement when setting up the SafeNet eToken for the first time.
For Renewals/Reissues
• You may still use compatible and existing SafeNet eTokens as long as it meets the required supported key size.IMPORTANT: If the supported key size of your current token is not compatible with code signing, request for a new token during the renewal process. If your eToken is still compatible and you do not want to make any changes with your current token password, initializing your eToken is not required. You may proceed with the guidelines.
Guidelines
|
INFORMATION: In this example, the Key Generation Method used is Download using Internet Explorer (IE) Compatibility Mode. If you have selected Fortify as your method or you have an HSM-based Certificate, please go back to main menu or search for the installation guide that suits you. |
-
Open the Certificate Download Ready email and launch the pickup link using Microsoft Edge with IE Compatibility enabled.
-
Enter the Temporary Pickup Password that was set at the time of ordering and click Next to continue.
-
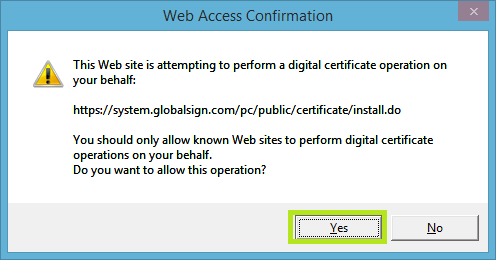
In the Web Access Confirmation prompt, click Yes to allow digital certificate operations.
-
In the Install Certificate window, choose one from the Cryptographic Service Provider drop-down options:
• If you want to install the GlobalSign-provider SafeNet eToken, select eToken Base Cryptographic Provider
• If you want to install a private-owned smart card, select Microsoft Base Smart Card Crypto Provider
Then, tick the box to agree to the subscriber agreement and click Next.IMPORTANT: For renewals, if you encounter a storage-related error, you must remove any expired certificates and/or orphaned objects from the token. Once these items are cleared, you will be able to successfully import and use a new certificate.
-
Insert your SafeNet USB token into your computer.
-
Enter the password for your USB token. This was set during the initialization process, then click OK.
WARNING: The screen may appear to freeze for a minute or two. DO NOT press any button on your browser until the process is complete as it will interrupt the progress. There should be a blinking light from your eToken and a message in the screen reminding to wait for a while.
-
Once the token has finished the keypair generation, click the button to Install My Certificate.
-
In the Web Access Confirmation prompt, click Yes to allow digital certificate operations.
-
Click OK to complete the process.
- You are now ready to use your certificate.
Install CA Certificates
-
Select the Intermediate Certificate of the product you ordered.
-
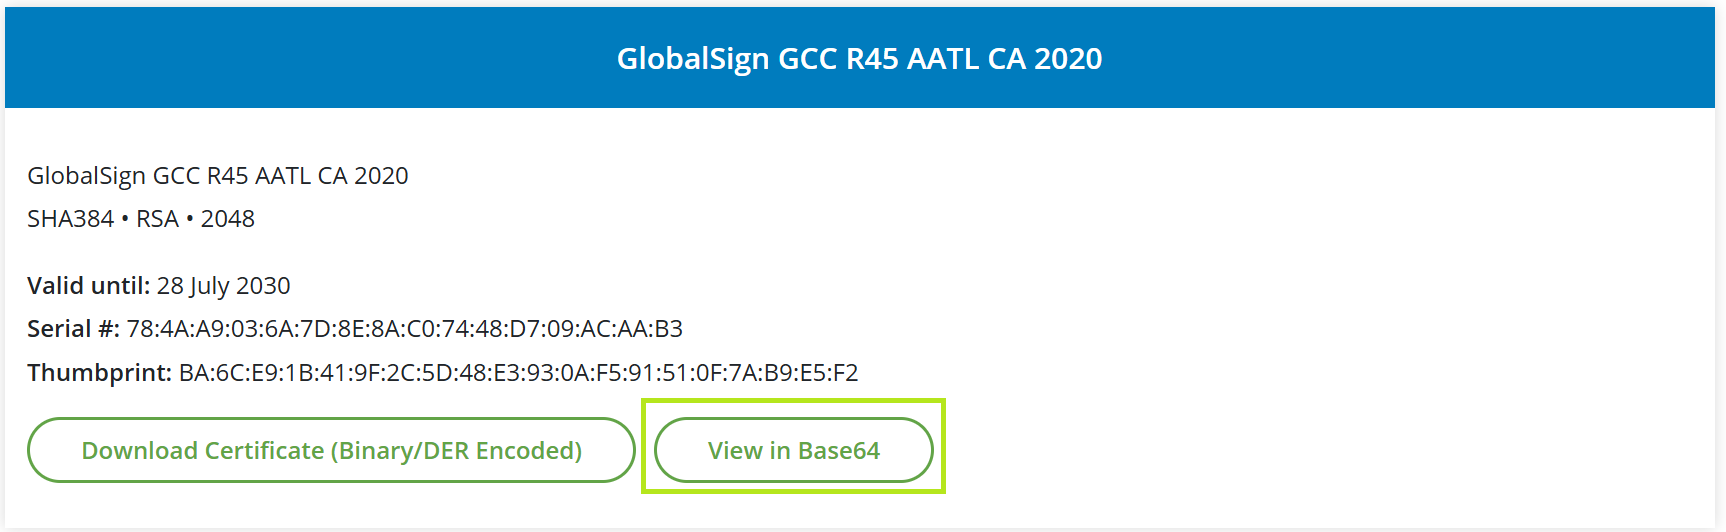
Find the latest version of the Intermediate Certificate.
-
Click View in Base64 and copy it.
-
Paste it into a notepad and save it as .cer file. Note: Make sure to change the Save type as All Files.
-
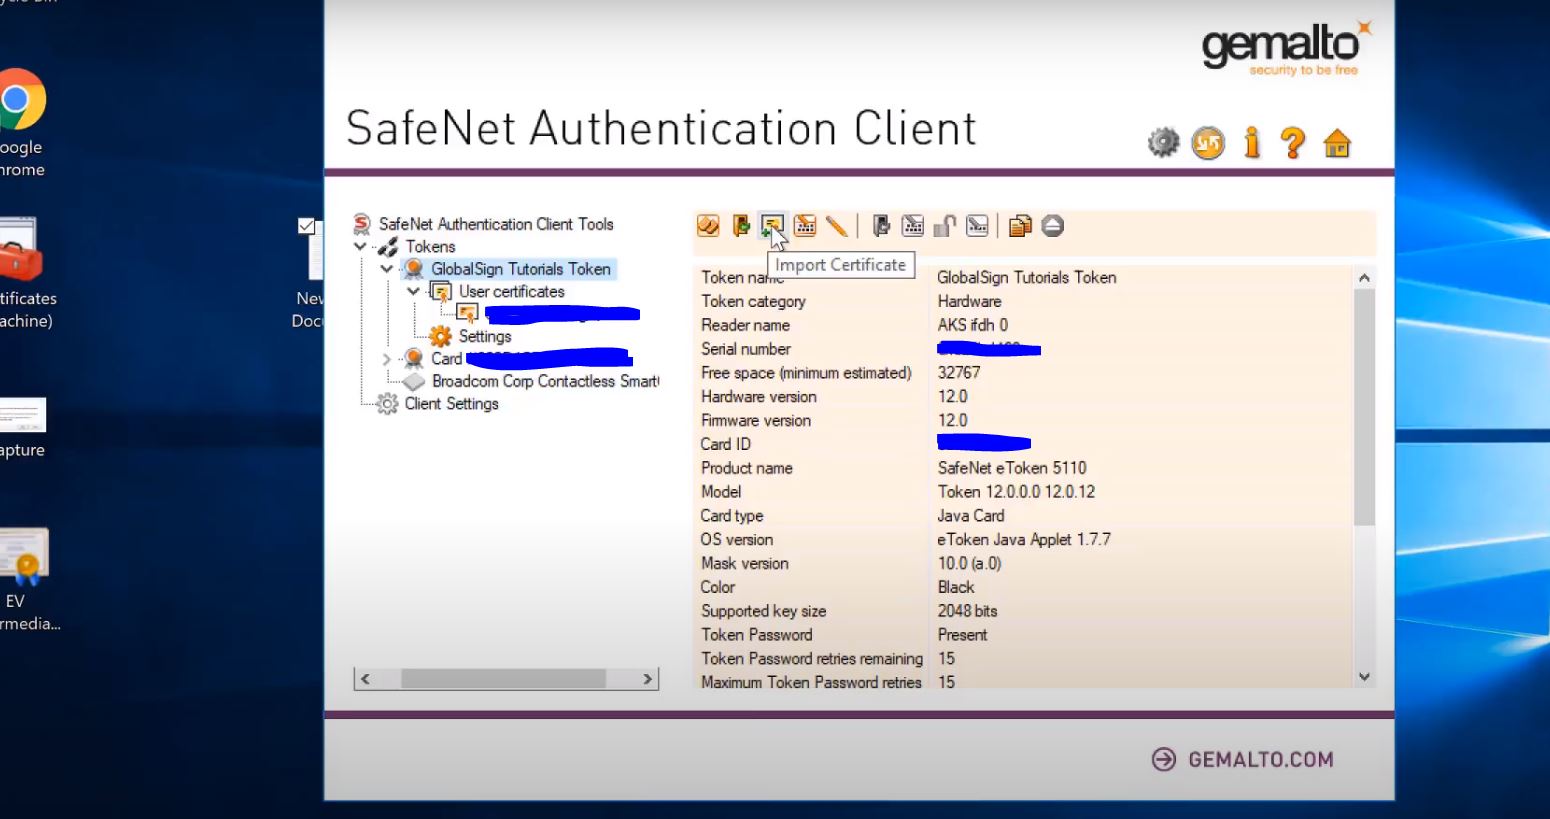
Once saved, go back to Safenet Authentication Client Tools.
-
Select your token and click Import icon.
-
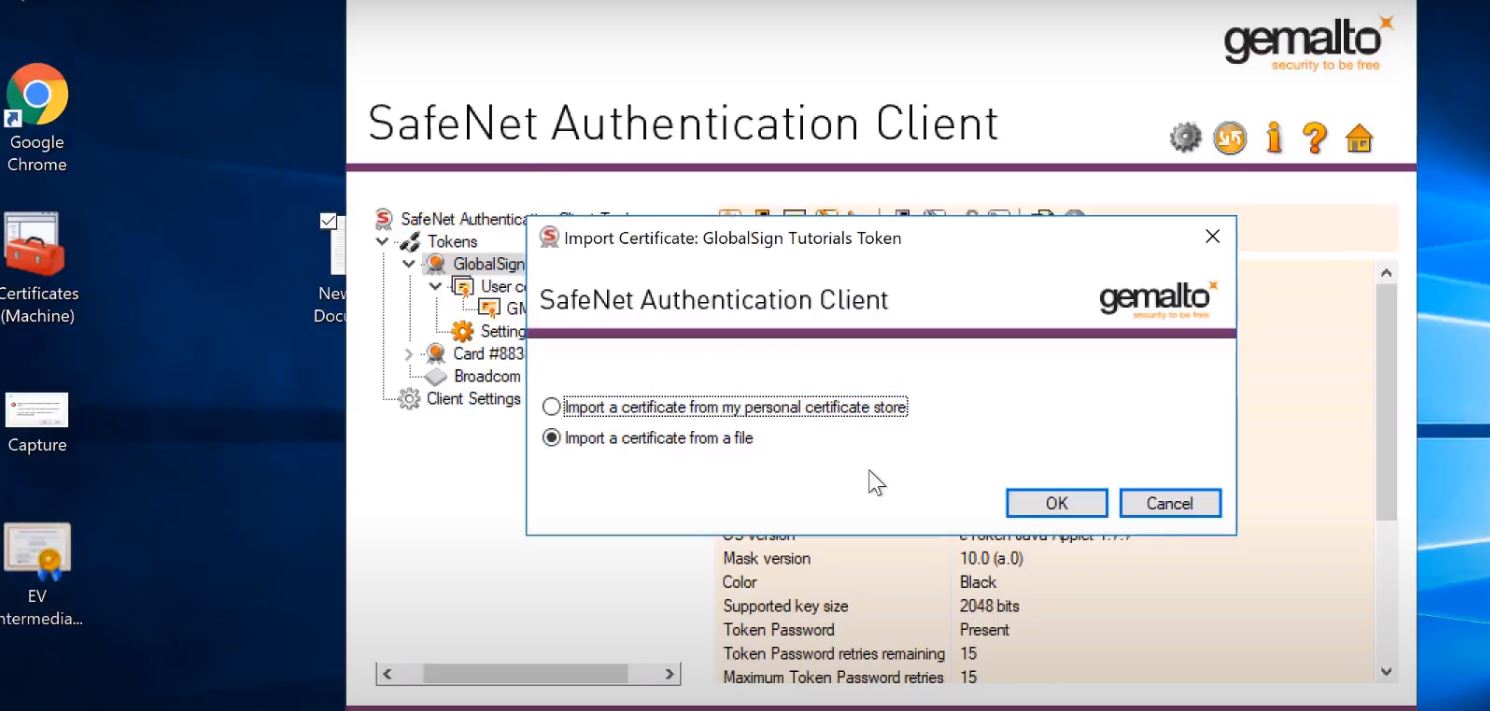
Re-enter your token password.
-
Choose Import a certificate from a file and click OK.
-
Select your Certificate.
-
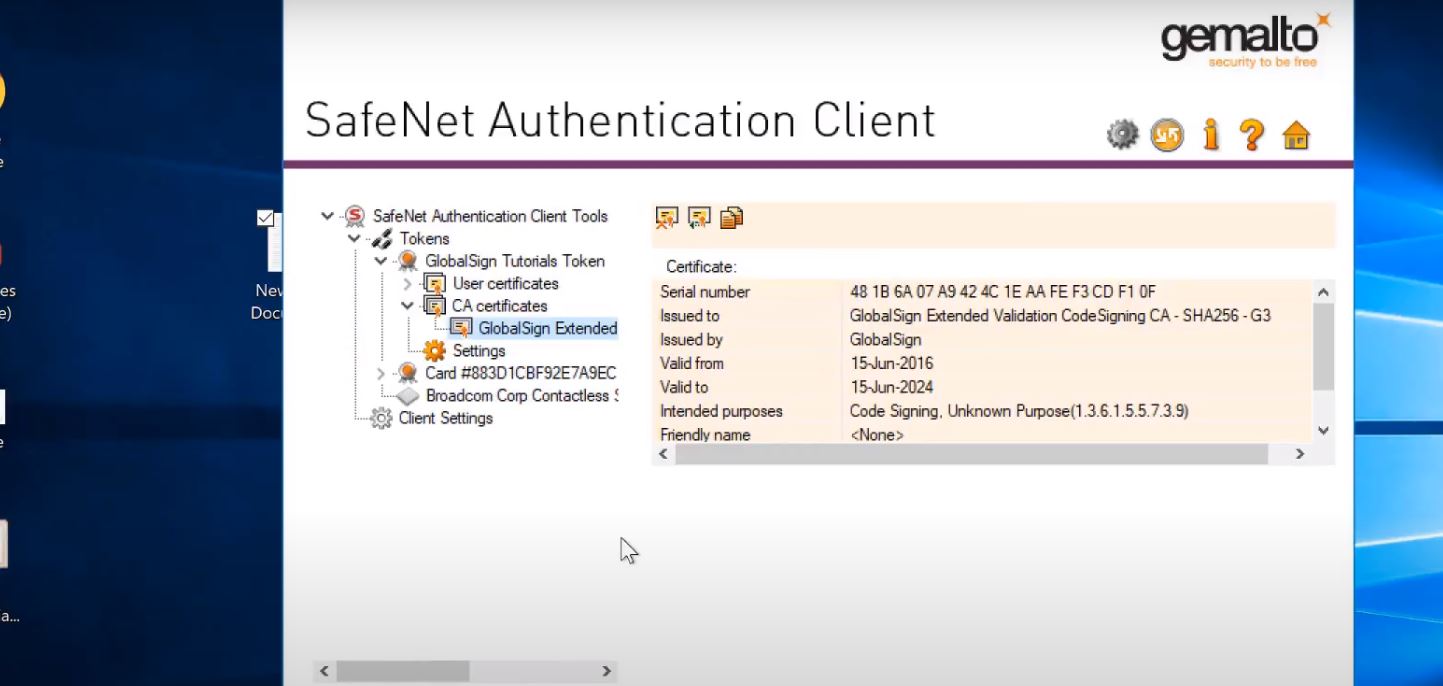
Certificate has now imported, and you should be seeing it under CA certificates.
Related Articles
SSL Configuration Test
Check your certificate installation for SSL issues and vulnerabilities.