
Configure PersonalSign Certificate - Office 365
Jun 2, 2025
Configure PersonalSign Certificate - Office 365
Article Purpose: This support article will guide you through the step-by-step process of configuring S/MIME in Office 365. If this is not the solution you are looking for, please search for your solution in the search bar above.
Prerequisite
Before your Certificate can be installed in Office 365, it must be downloaded & installed into your Windows Certificate Store.
- Install PersonalSign Certificate - Step 1: Download Your Certificate
- Install PersonalSign Certificate - Step 2: Locate & Install Your Certificate
Guidelines
- Open Microsoft Office 365.

- Then, open Microsoft Outlook.
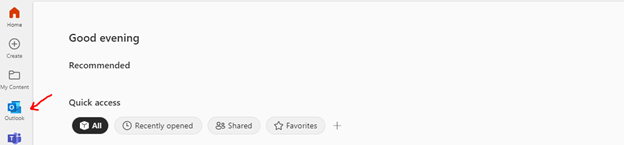
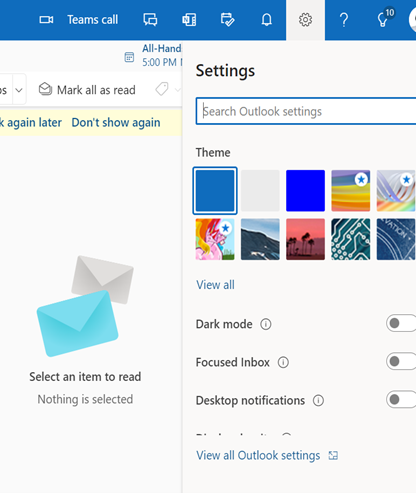
Note: If Outlook application is not installed, it will open on your default browser. - Go to Settings, then, click View all Outlook settings.
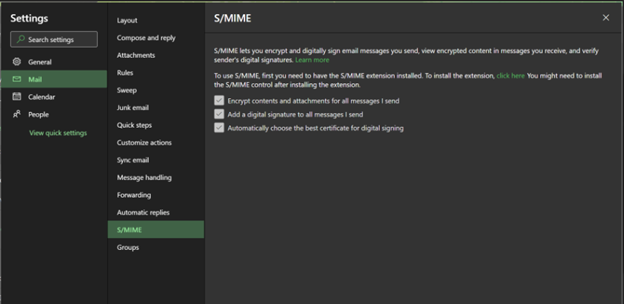
- Go to Mail > S/MIME. Make sure to mark all boxes in order to use the Certificate.
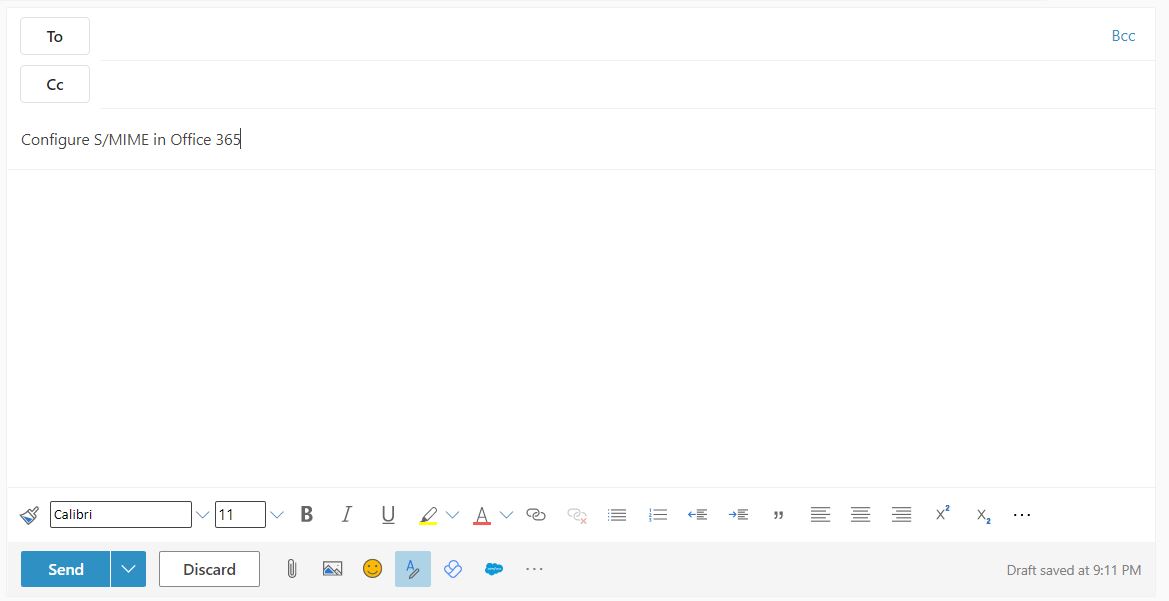
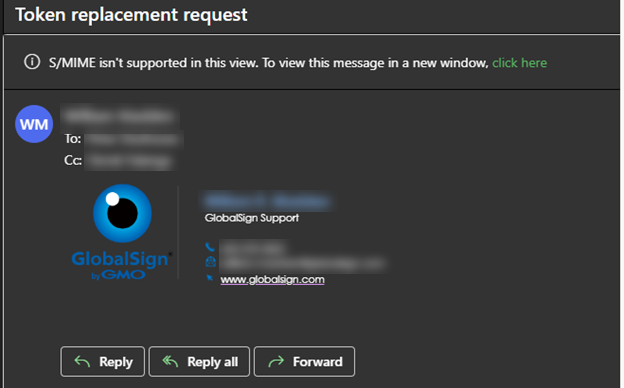
- Send an Email.
Note: By default, all outgoing emails have a Certificate.
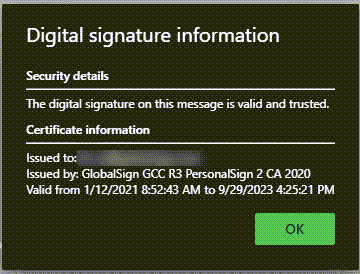
- To check, press Click here to see certificate properties that was used.
Related Articles
SSL Configuration Test
Check your certificate installation for SSL issues and vulnerabilities.
Contact Support
If you are an Atlas portal user, please submit request to support-atlas@globalsign.com.